57
« Last post by rhtrades on December 02, 2025, 11:32:15 AM »
very nice. I own the same boat, 1999. I repowered with a 200 suzuki a few years ago...furthest i've taken it out is about 25 miles off shore (NW corner stellwagen bank) on a calm day....boat this size gets thrown around quite a bit in rough seas. I've had it for about 5 years and recently put in a new deck (replaced balsa core with divny cell)...I have considered the T top but concerned about the wind resistance.
I have an EZ loader, Bunk Style Trailer which i really like.
Would be interested to know what size tuna you were able to pull into the boat.....
 Recent Posts
 Looking good.
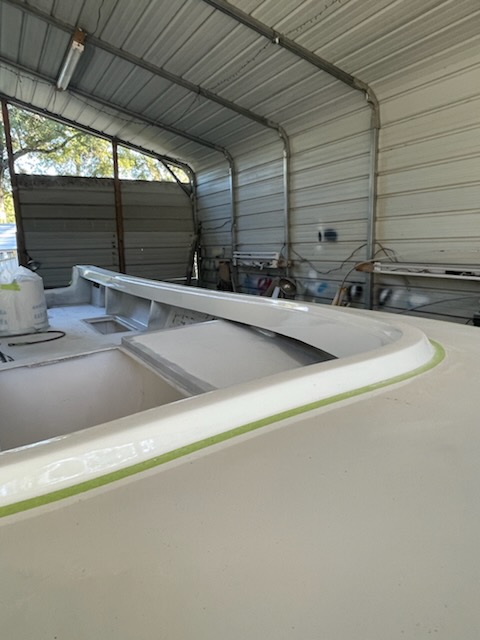
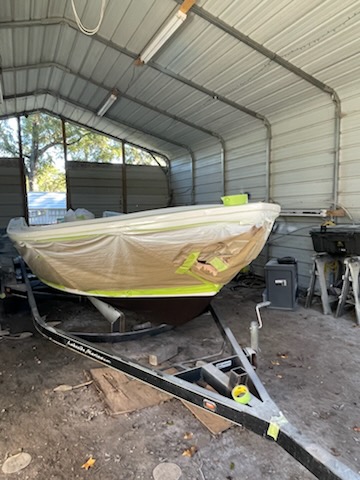