Recent Posts
11
196 Rebuilds / Re: 1973 196 rebuild question
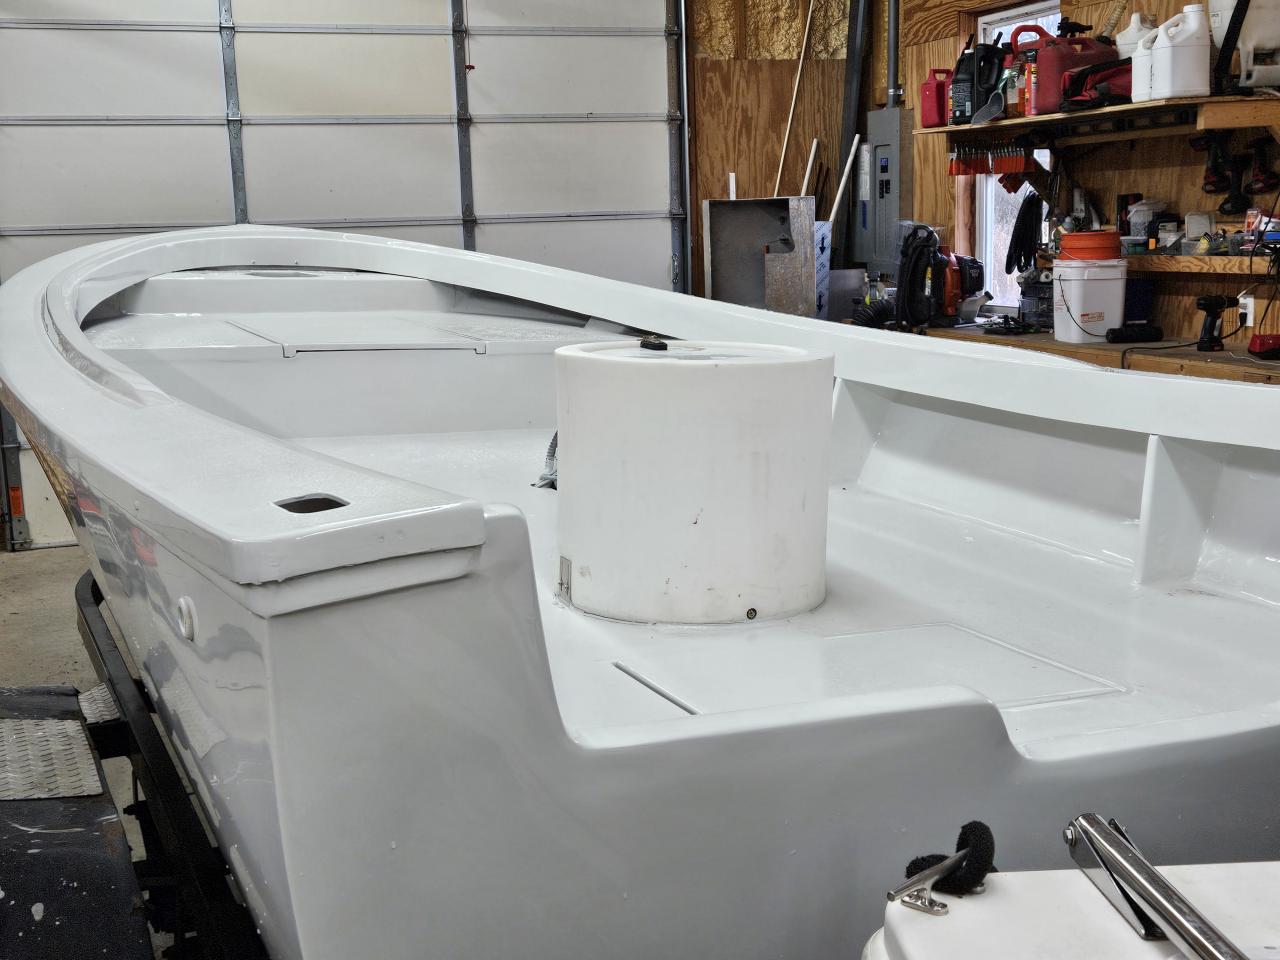
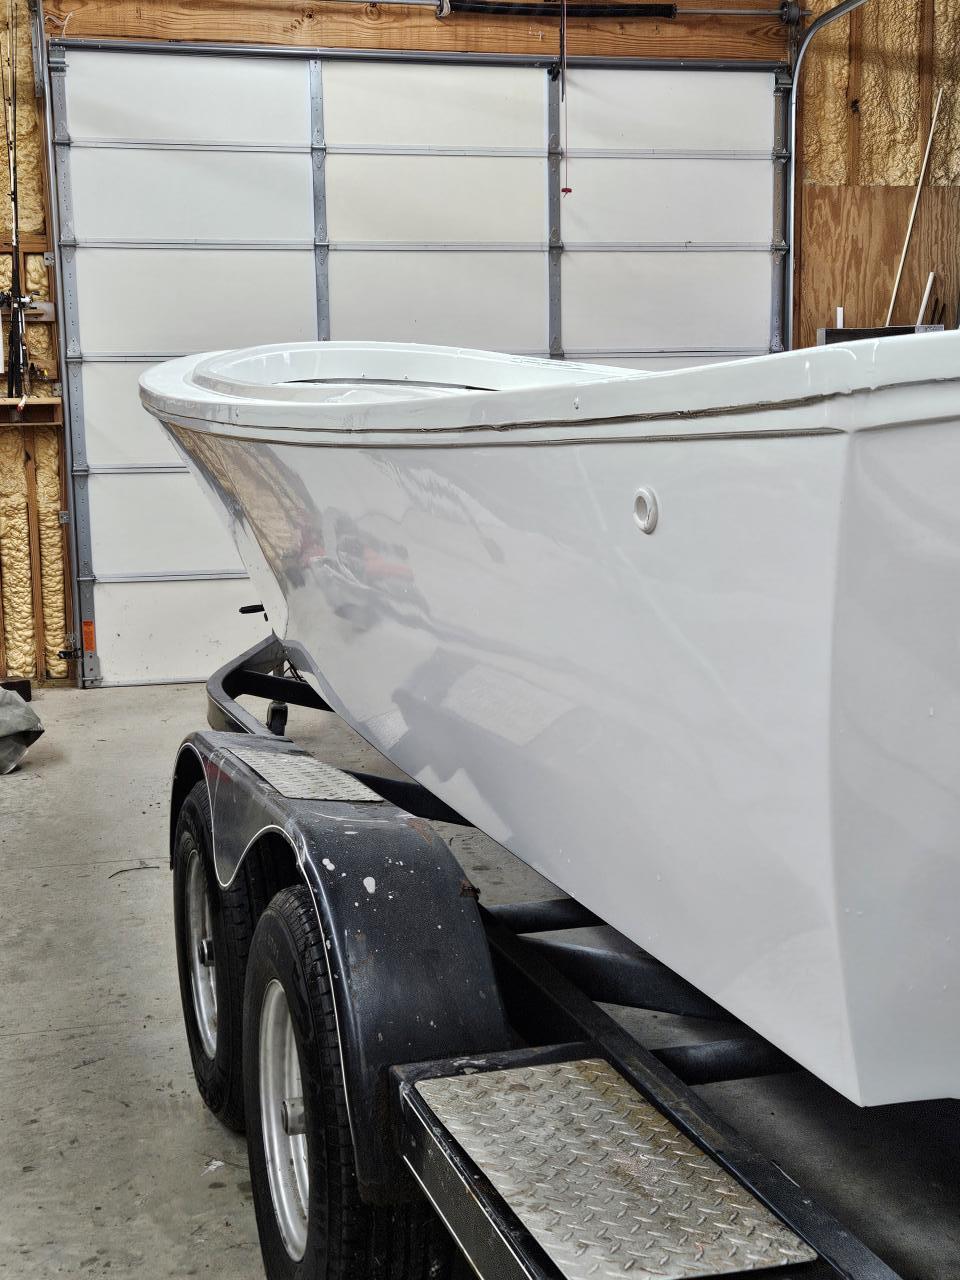
« Last post by dbiscayne on January 12, 2026, 02:32:34 PM »Guides as shown above work good, and if the bunks are setup right, and you don't back the trailer in too deep, the bunks will keep the front of the boat centered. I like having bunks as far forward as possible.