Recent Posts
21
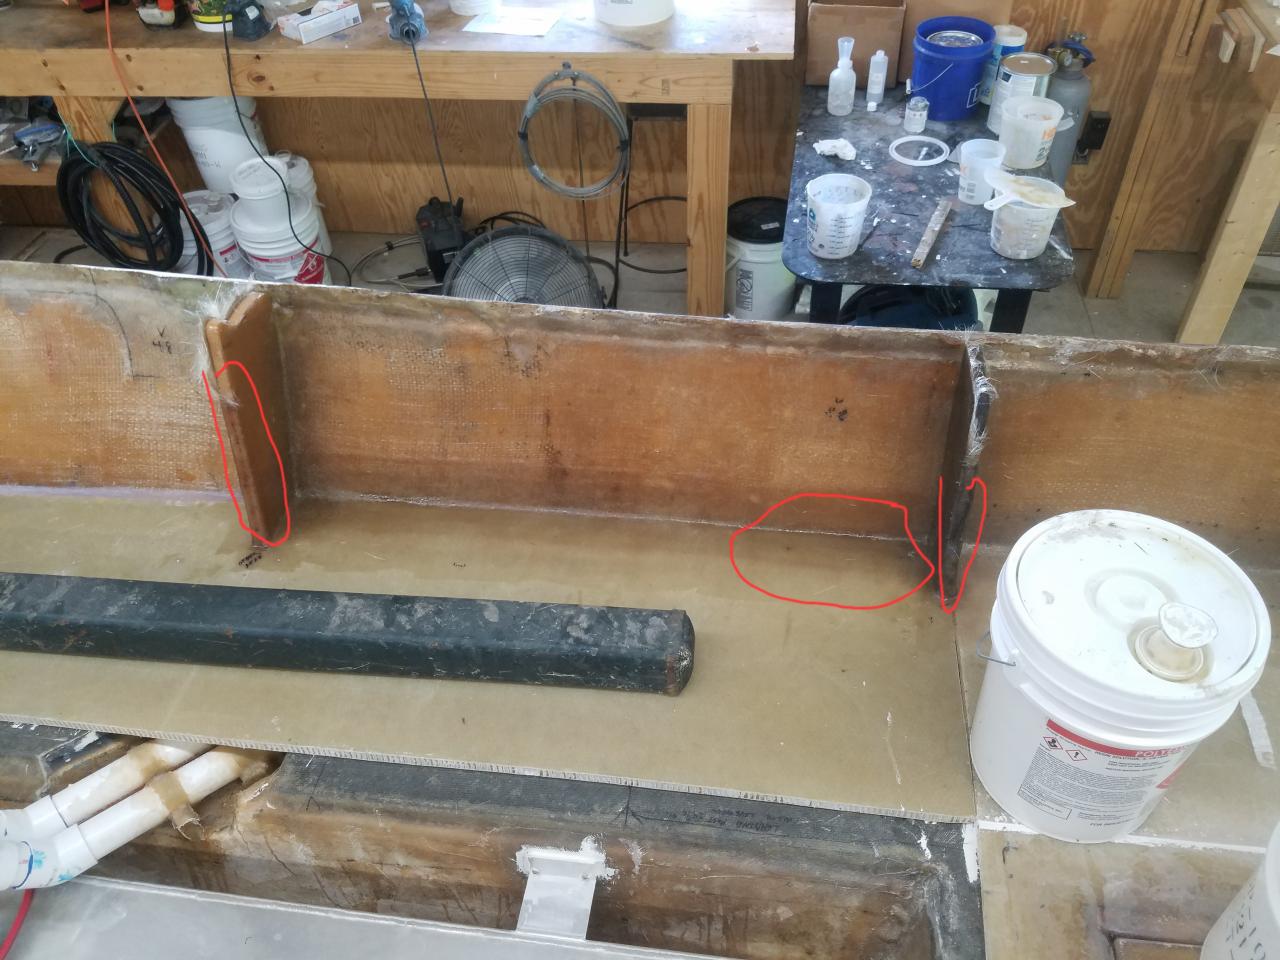
196 Rebuilds / Re: 1973 196 rebuild question
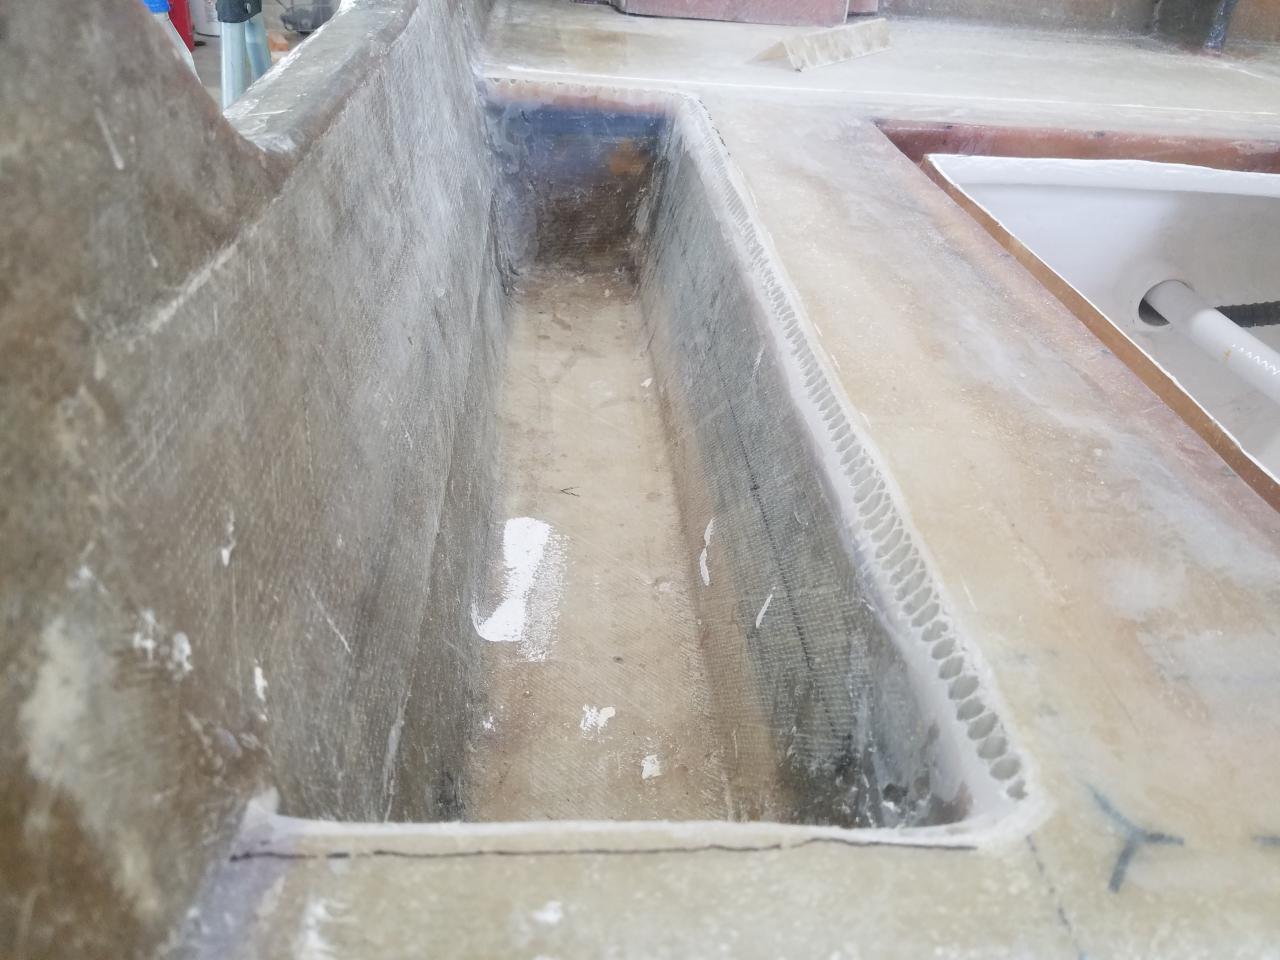
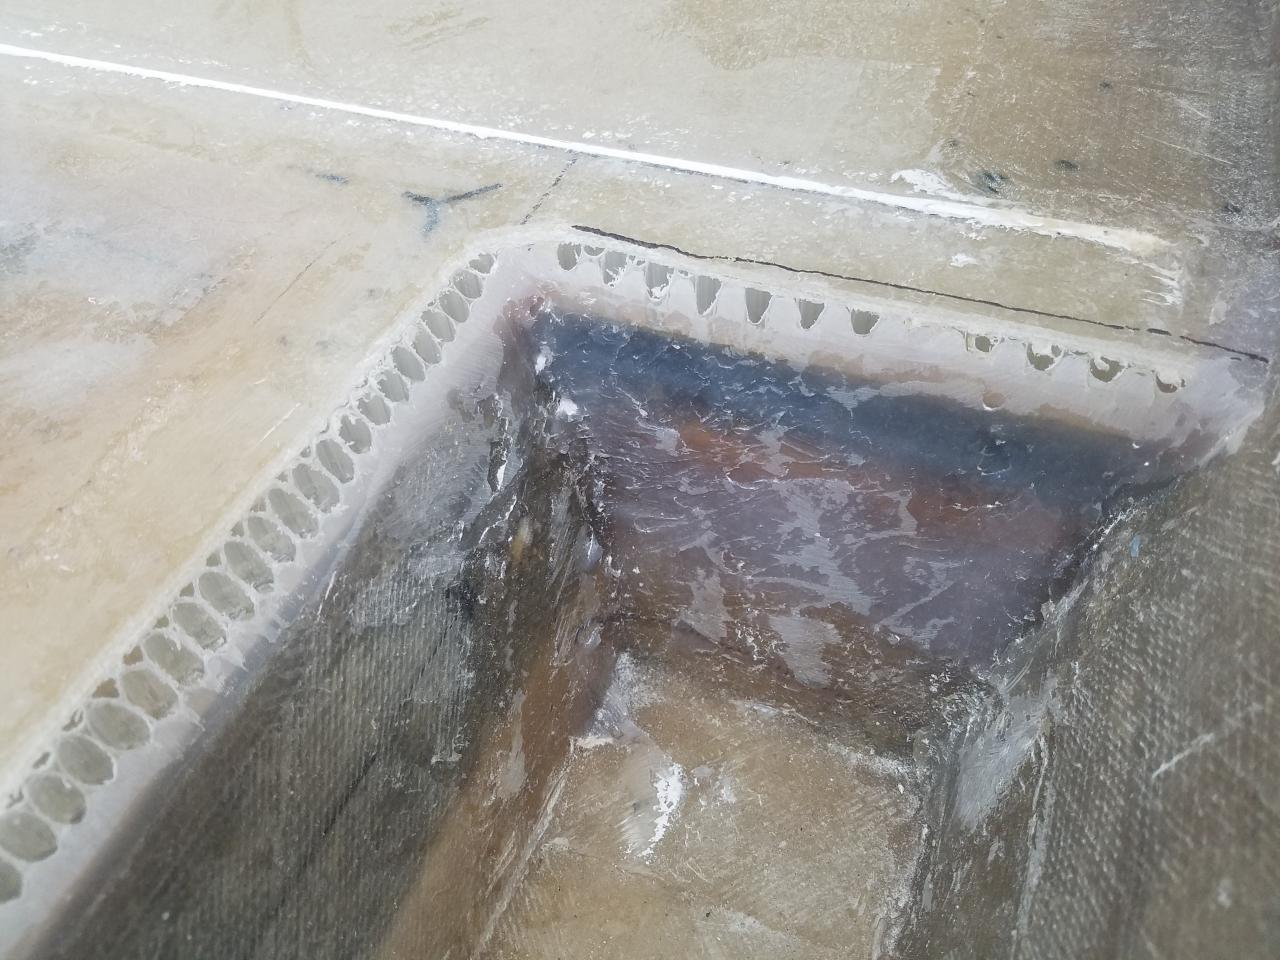
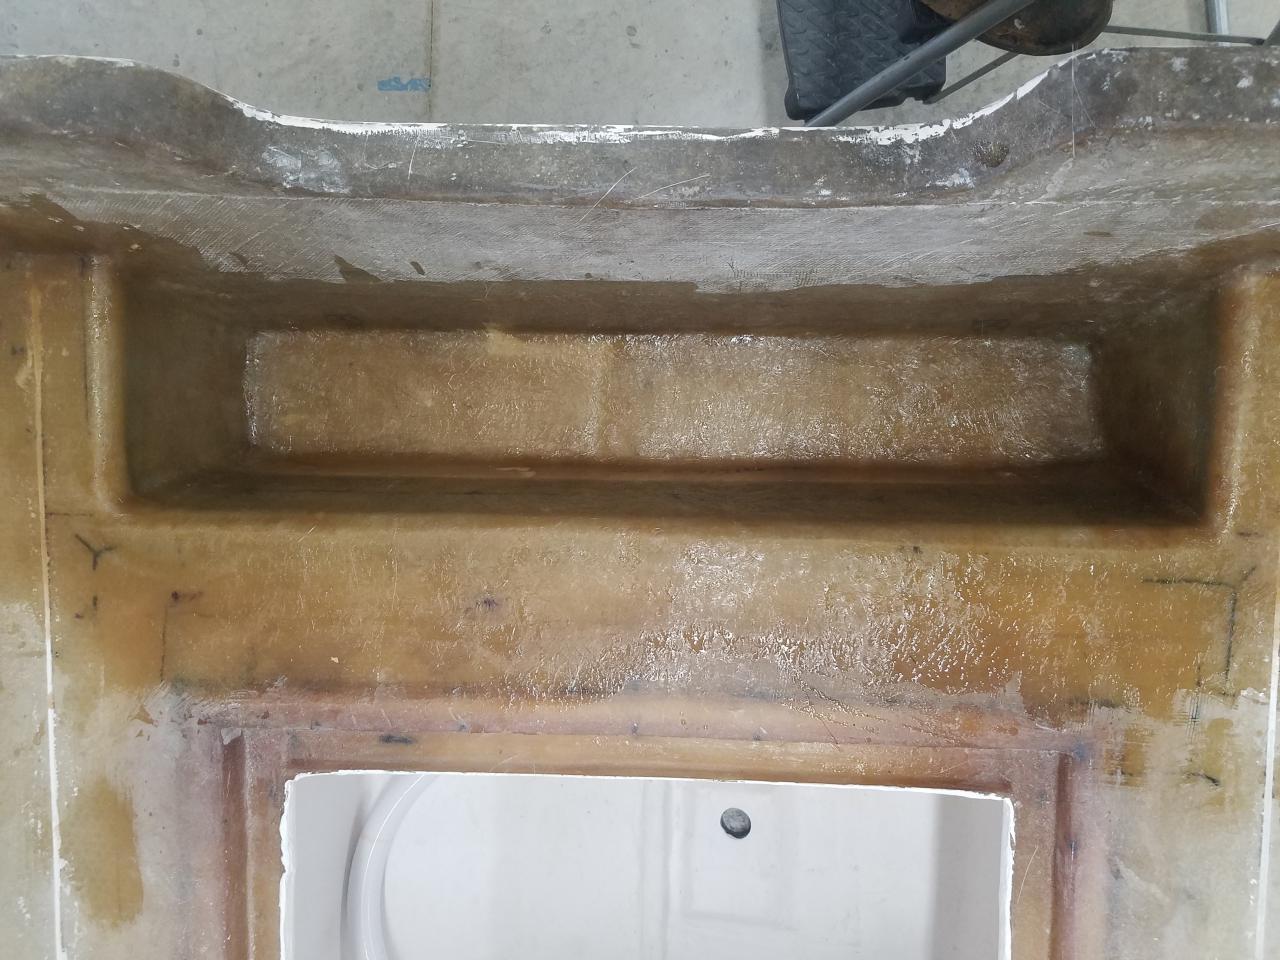
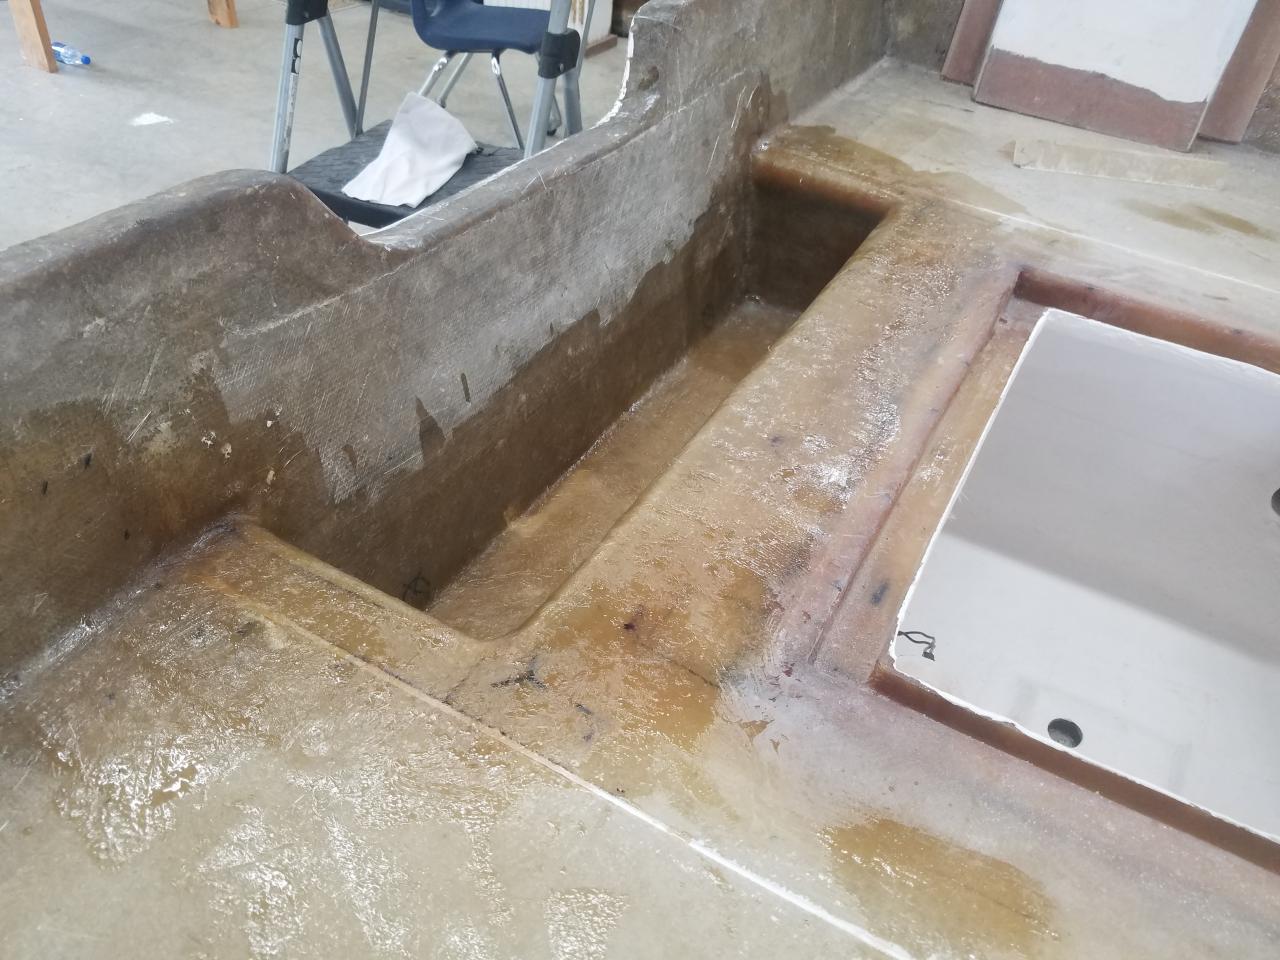
« Last post by Duffy1470 on July 09, 2025, 03:18:47 PM »Good info as usual Rick. I was planning on two scupper holes, one on each side of the gutter, excluding the one in the center. If memory serves, you can't really get to that one to plug it because the engine mount is in the way.