I’ve been piddling around on this project until the weather and my schedule line up to finish the deck rebuild. I replaced the seals on the hydraulic steering, which stopped the leak at the stern. The manufacturer specifies some pricey hydraulic fluid (which they market @ $27 a quart at West Marine) for their unit, but I will continue to use ATF until I’m satisfied that all problems with the steering have been resolved. I run the engines every few weeks and consider it a victory when I can start them without using starting fluid. I’ve treated the engines with Seafoam a few times, and they do seem to be running more smoothly now, but they really need to be run in the water.
The previous owner said the trim tabs had never worked while he owned the boat, so I removed the tabs' hydraulic power unit, figuring that a failing seal had allowed the hydraulic fluid to leak out. The unit has a “quick connector” and is easily removed, and that is part of the problem with this system.
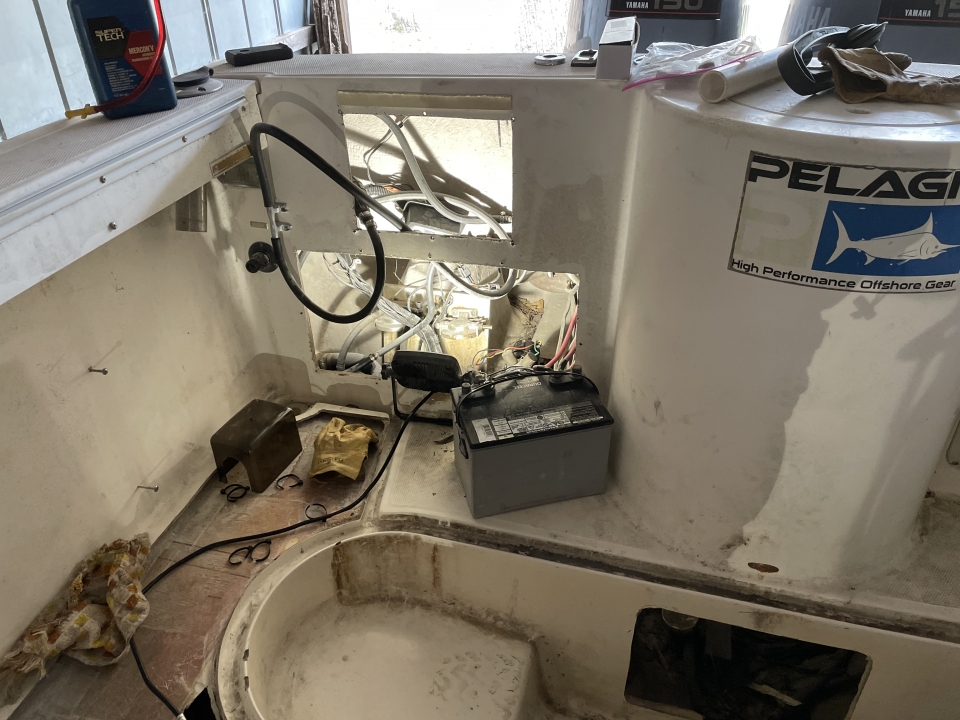
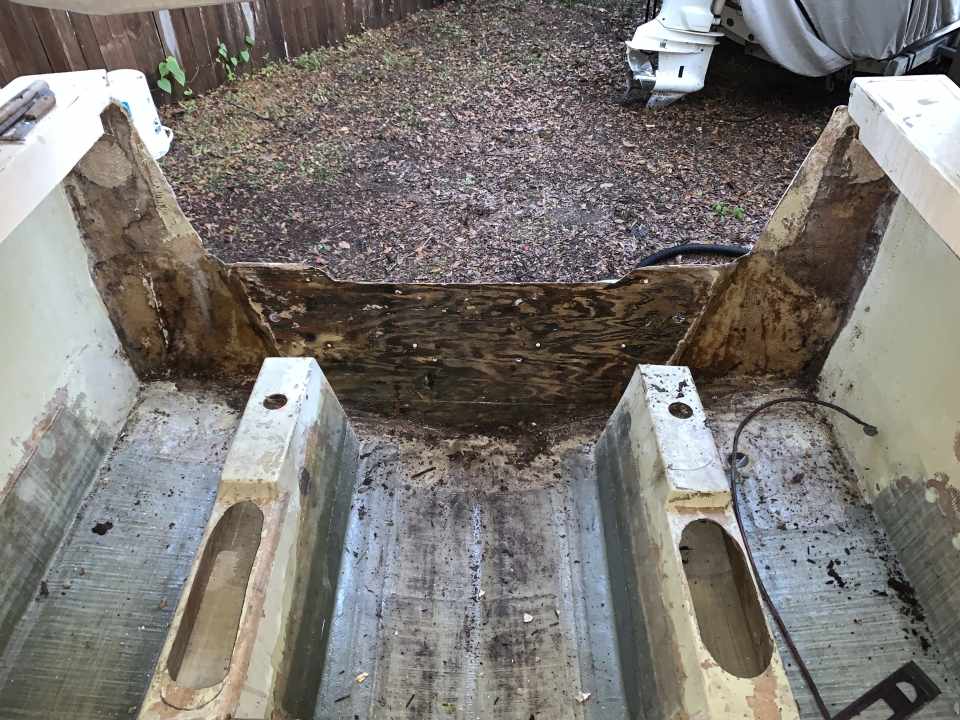
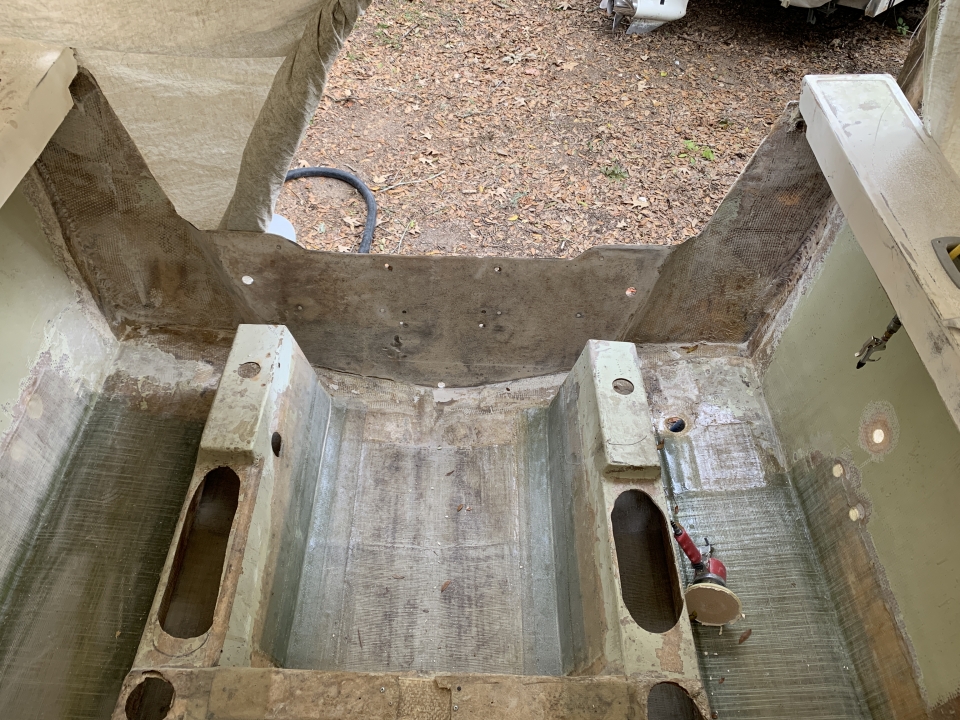
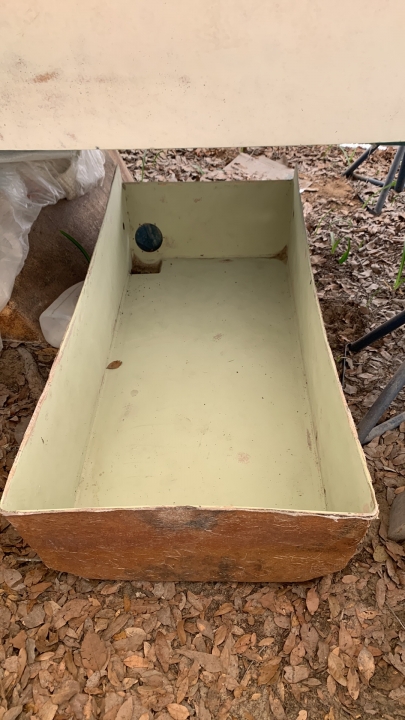
The hydraulic power unit is easily accessed at the stern.
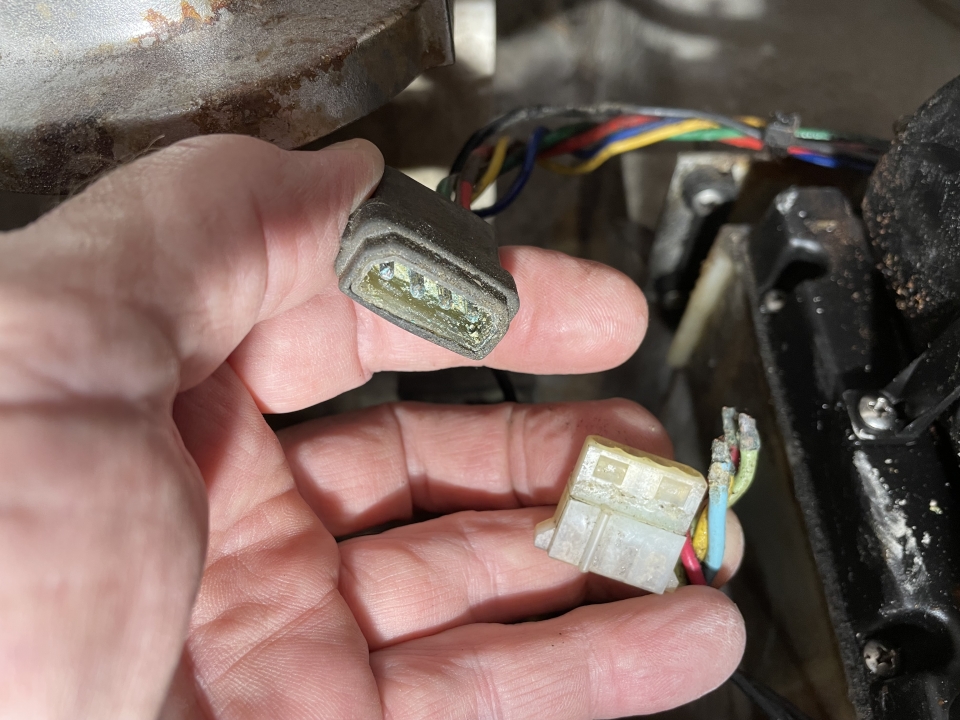
Corroded connector and wiring for the trim tabs' hydraulic power unit. I suspect that quick connectors in the bilge never last long.
The pins were badly corroded, and all the wires on one part of the connector fell out when I tugged on it. The fluid reservoir was full with no sign of leakage, and I was hoping that just replacing the connector would fix the problem, but when I bench-tested the unit as per the manufacturer’s instructions, I found that although the solenoid valves functioned normally, the pump would operate in one direction but not the other. The Bennett technical support guy gave me some bad news – “one of the windings on your motor has failed”. There doesn’t seem to be an easy fix for this beyond replacing the motor, and the Bennett web site doesn’t list the motor as a separate replacement part, so I would be replacing the entire power unit. If I can’t find an inexpensive replacement somewhere, I might just replace the entire trim tab system, but for now that job goes to the bottom of the priority list. Any advice about dealing with these trim tabs would be appreciated.
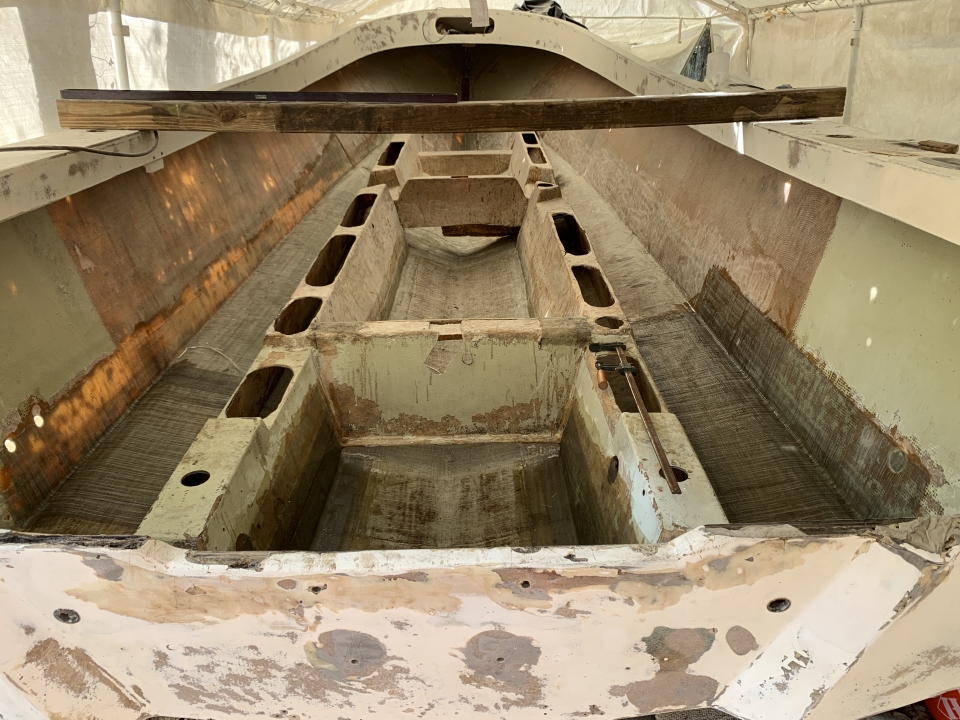
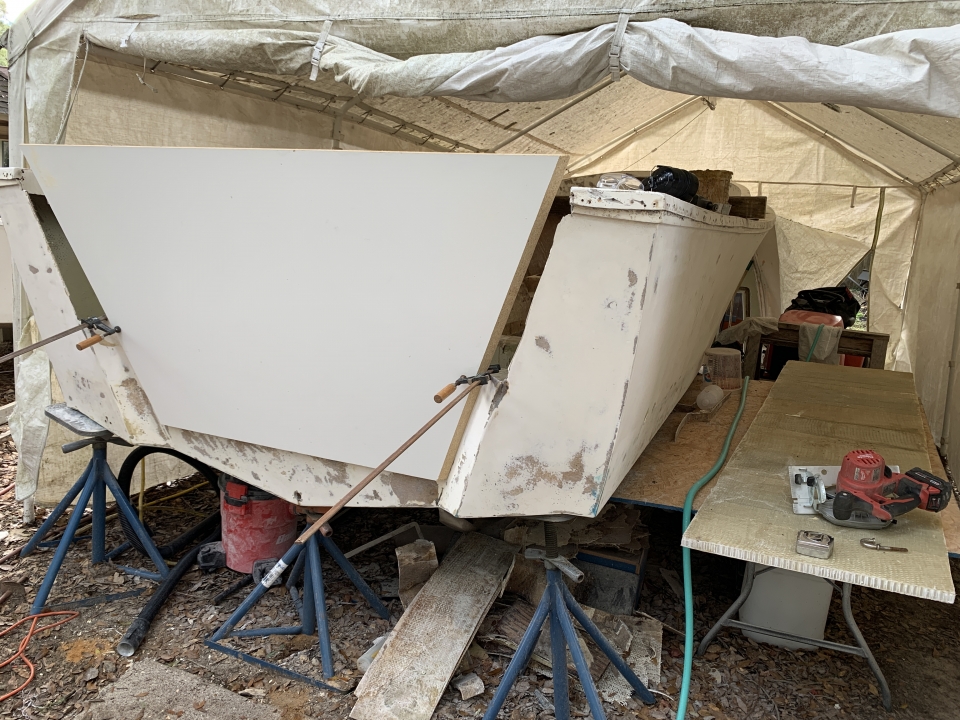
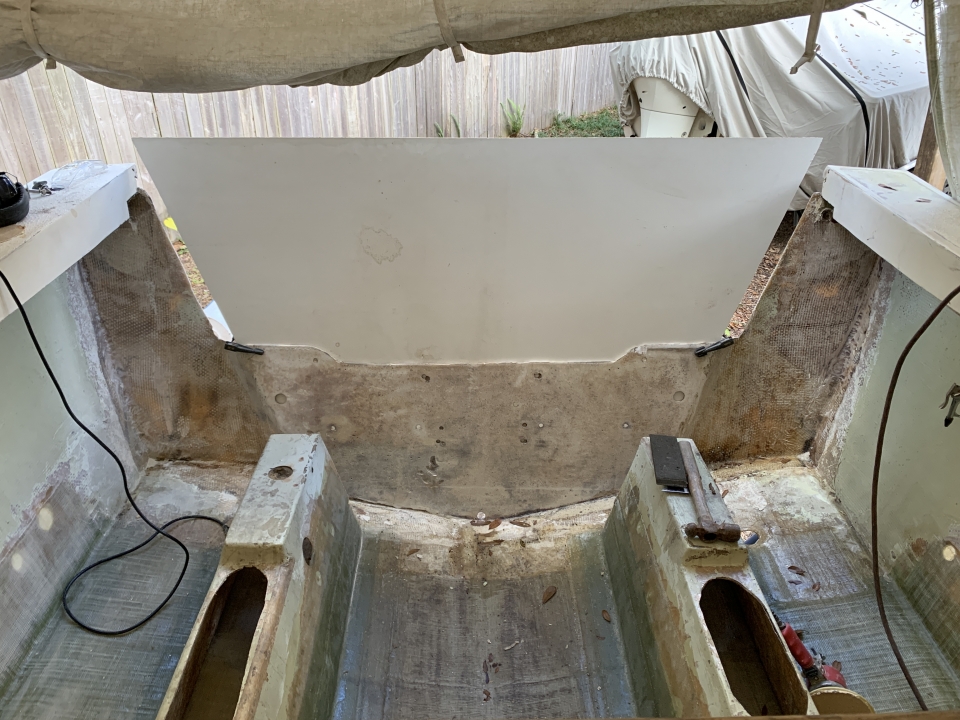
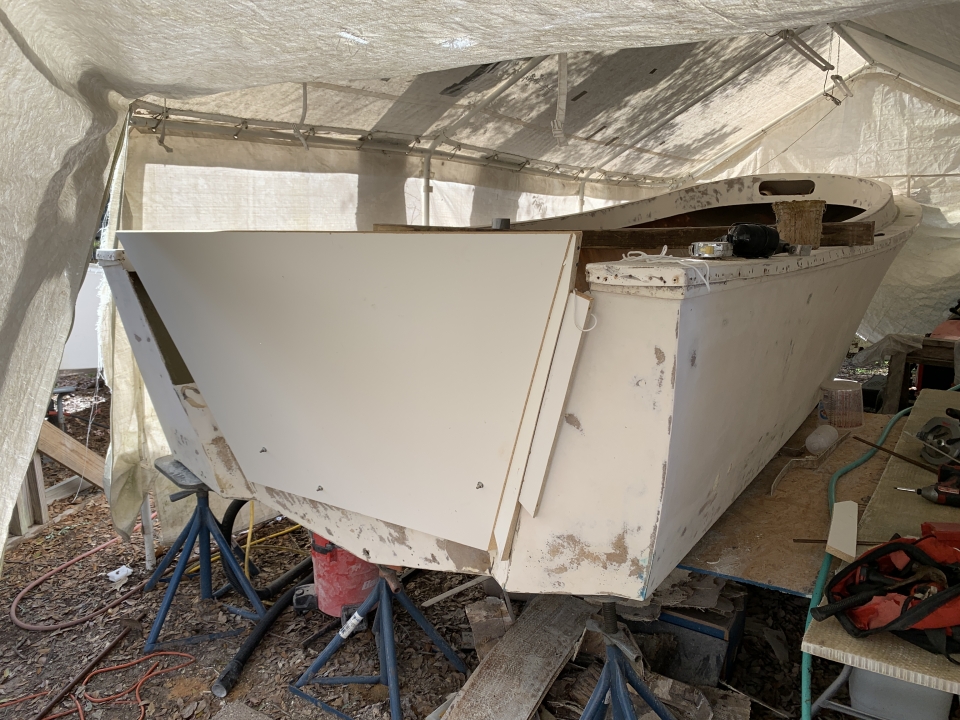
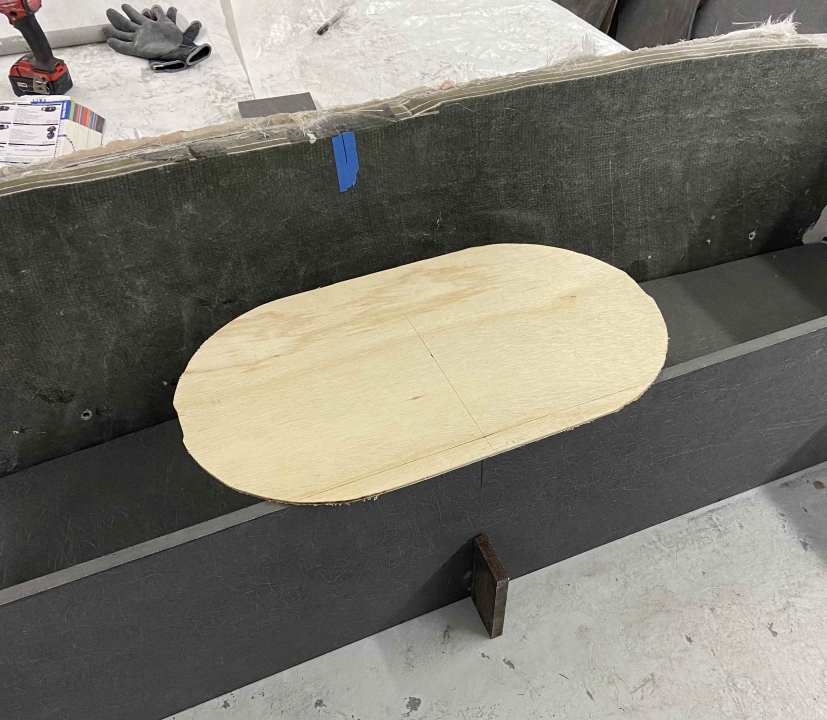
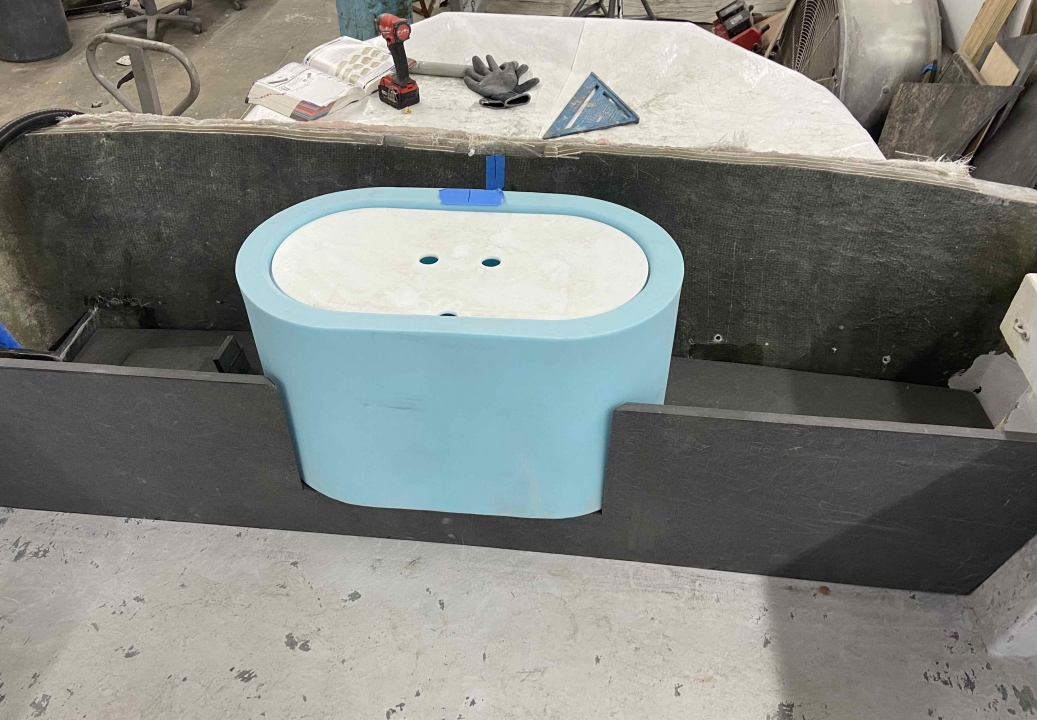
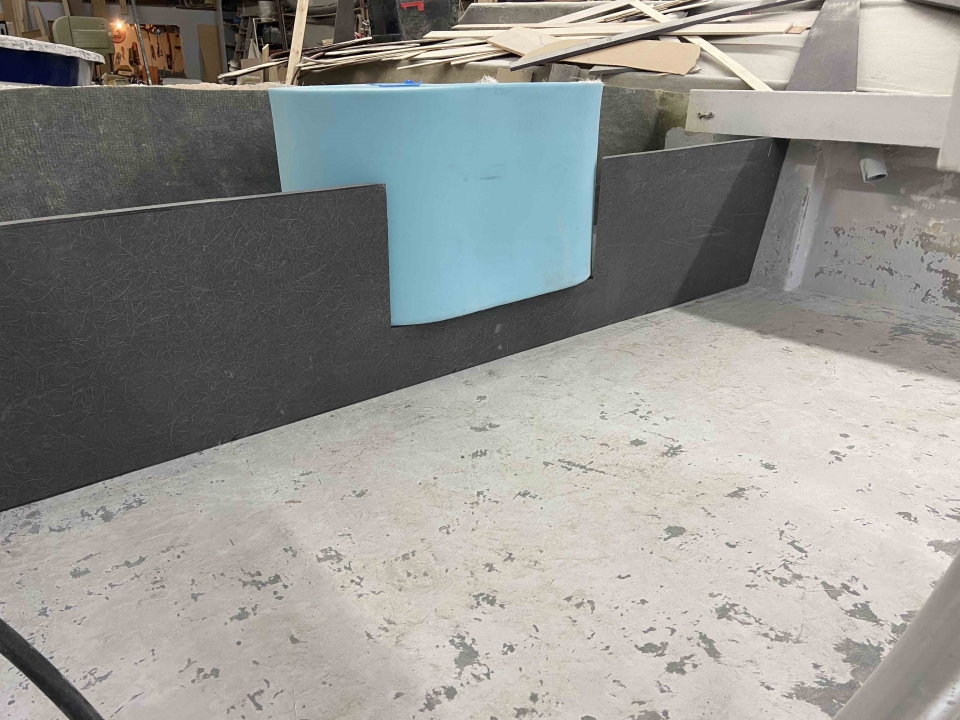
I did manage to resume the deck work by reinforcing the edges of the Coosa boards where they will slip between the layers of fiberglass. I used some 4-inch biaxial tape cut in half lengthwise, but I ran out and wound up finishing with some 6-inch cloth, which I liked better because it’s a little thinner than the biaxial tape.
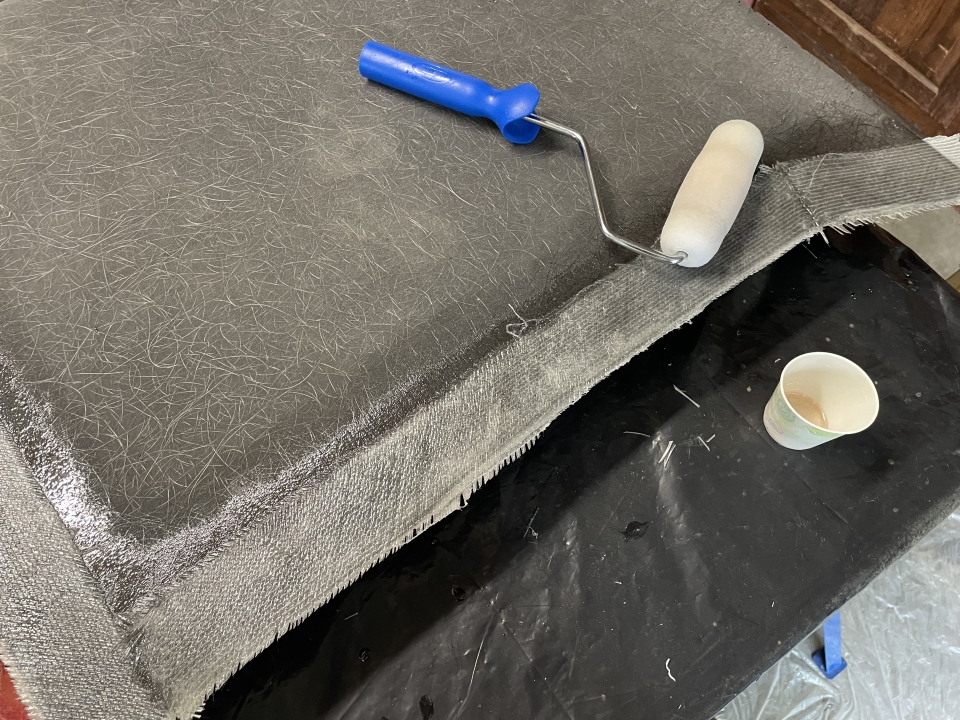
Reinforcing the Coosa board edges with epoxy and fiberglass tape. This should strengthen the joint when the deck pieces are reassembled. I trimmed some of the rough edges with a box cutter after the epoxy gelled and removed the rest with careful use of an angle grinder with a diamond blade after the epoxy had completely set up.
M
 Recent Posts

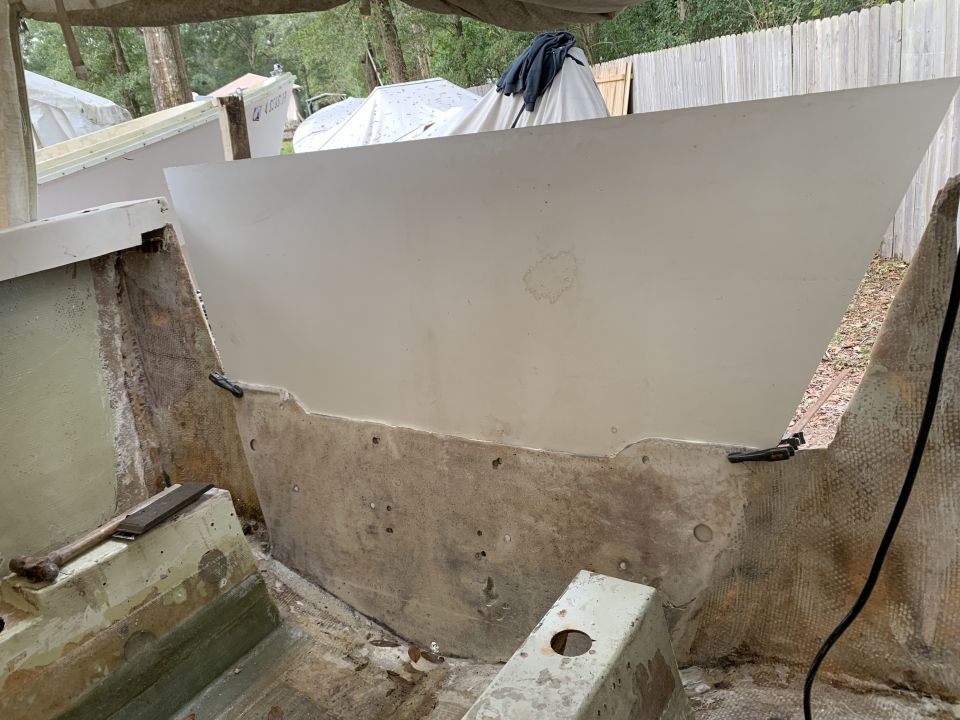
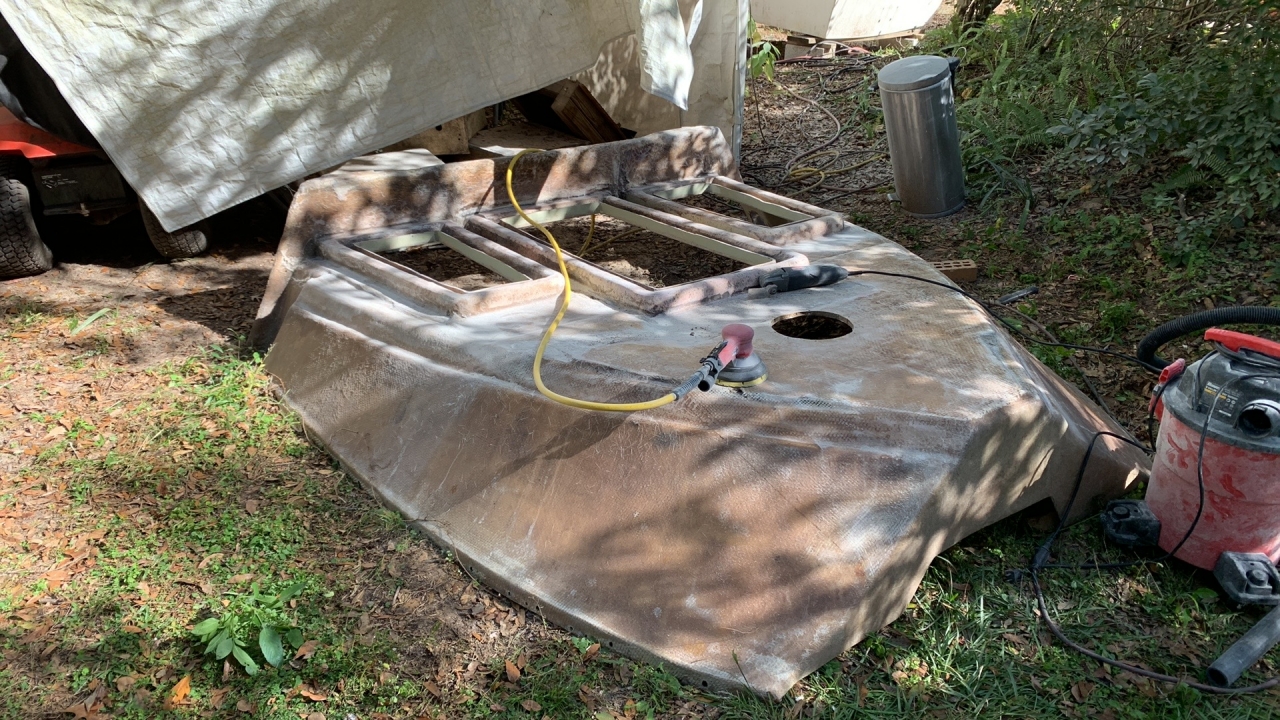
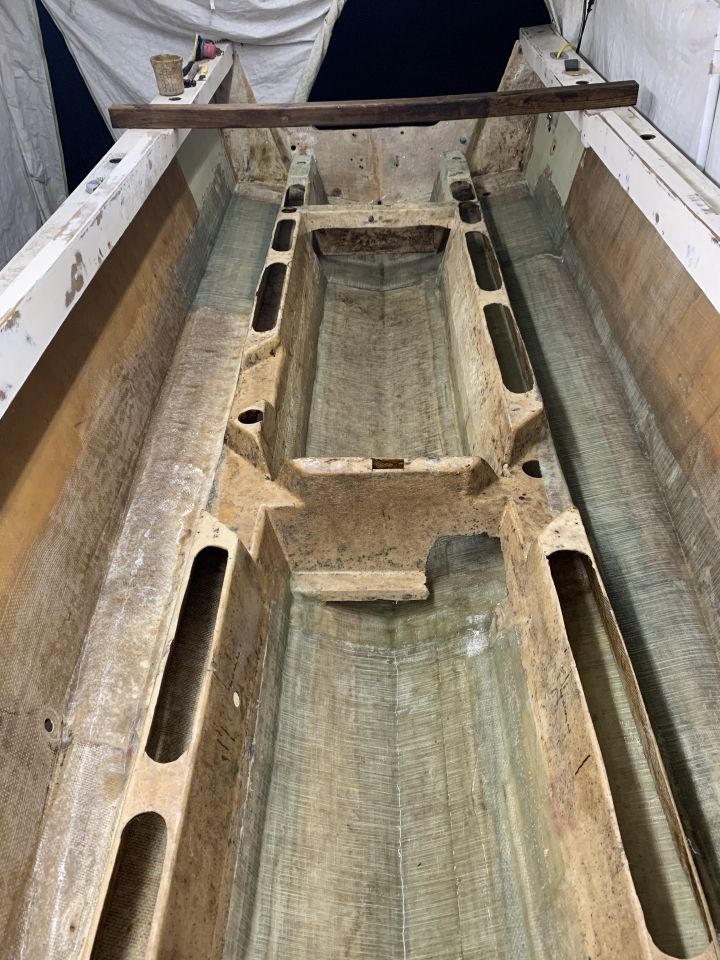
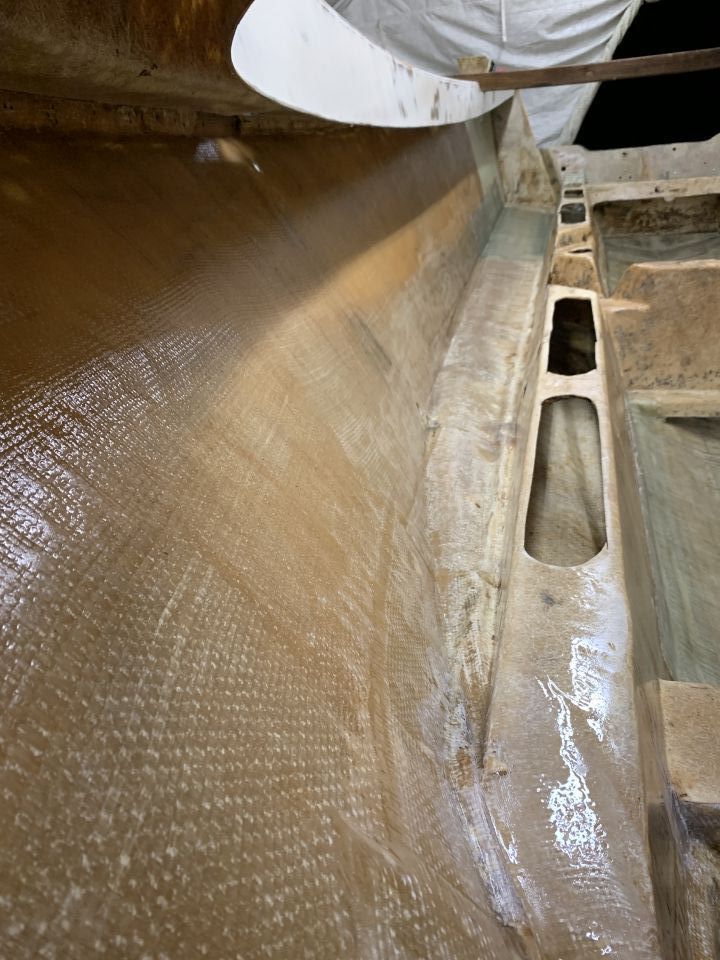
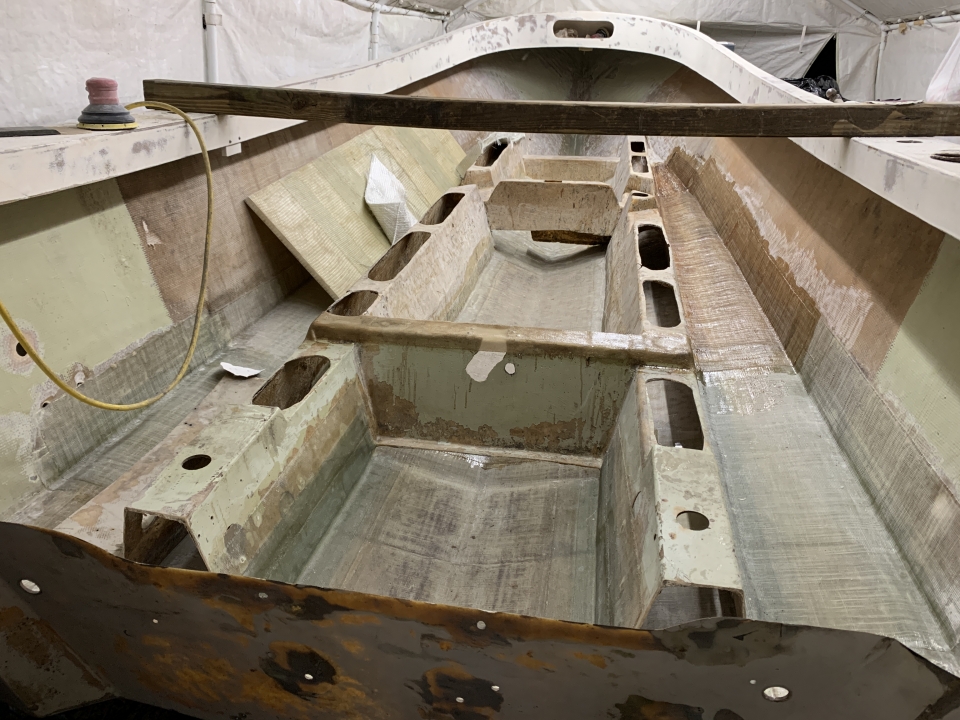
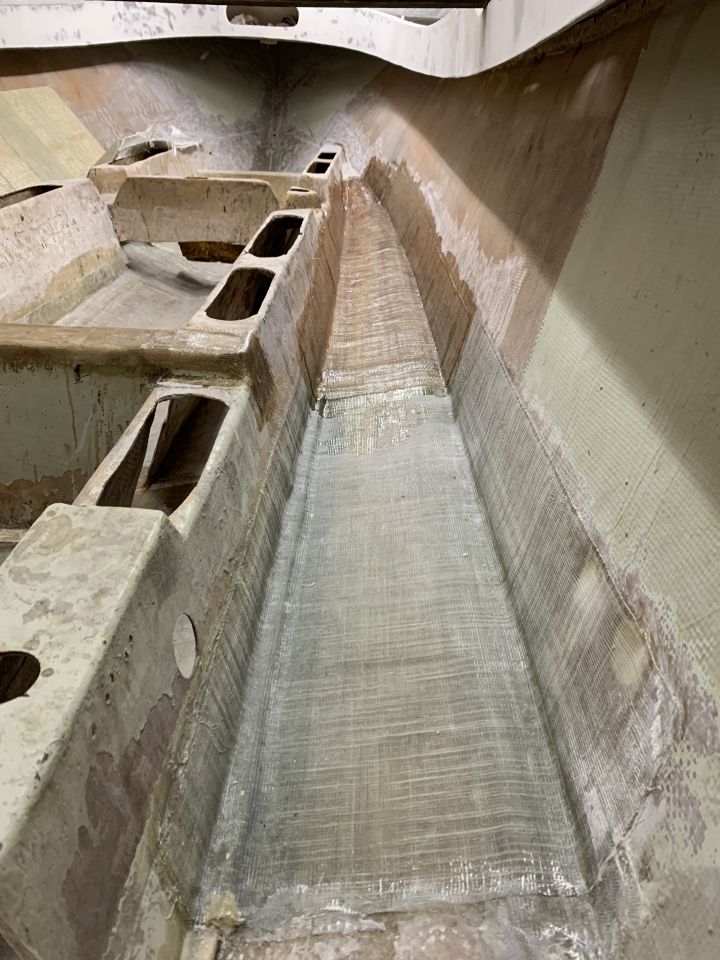
 The fuel tank subfloor project was completed and this plastic honeycomb materials has proved to be very stiff and strong when laminated. As of this past Wednesday I have gone through 15 gallons of Polyester resin on structural work and the fuel tank subfloor. I have two (2) more bucket pails of resin which should get me through the structural components, foam fill and cap the stringers to get ready for fuel tank and deck. I am planning to build the deck on a mold table to help with fairing and ease of use with the 1'' plascore honeycomb coring material I have.